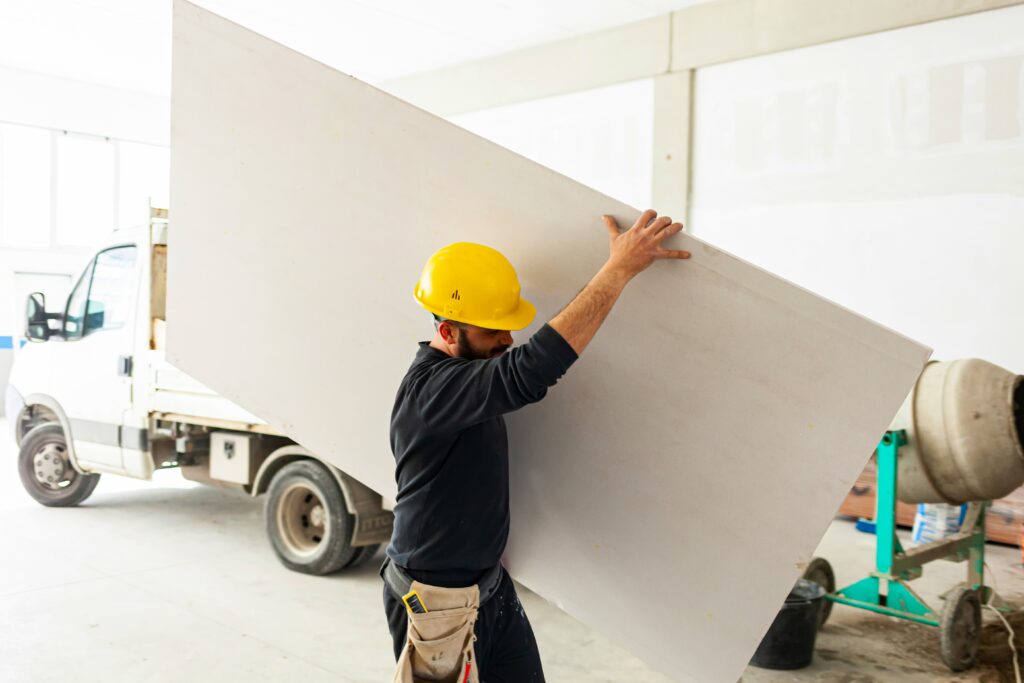
Houston, TX Air Duct Cleaning Service & Insulation | Atticair
Spray foam insulation can sometimes lead to home loan rejections due to concerns over improper installation and moisture damage. If installed incorrectly in enclosed roof spaces like attics, it can trap moisture against the roof sheathing, leading to undetectable rot and mold that compromises structural integrity. Some types of older spray foam also used blowing agents that are now restricted. Lenders and appraisers may flag these risks, fearing costly repairs and potential health hazards that affect the home's value and marketability. To avoid issues, homeowners should ensure installation is performed by certified professionals following all building codes and may need to provide documentation and moisture inspections to satisfy lender requirements.
Foam board insulation, while effective, has several notable disadvantages. Its primary drawback is cost, as it is typically more expensive than traditional batt or blown-in insulation materials. Some types, like extruded polystyrene (XPS), use blowing agents with a high global warming potential. It can also be a fire hazard if not properly covered with a fire-rated material, as some foams release toxic fumes when burning. During installation, achieving a perfect seal at all seams and edges is critical to prevent thermal bridging; improper installation significantly reduces its effectiveness. Additionally, it offers minimal sound-dampening qualities compared to fibrous insulation and is not a DIY-friendly material, often requiring professional cutting and fitting for optimal performance.
Selling a house with spray foam insulation can be challenging due to potential buyer misconceptions and legitimate inspection issues. While high-quality, professionally installed spray foam is an excellent insulator, buyers may be wary of improper installation, which can trap moisture and lead to rot or mold within walls. Some are concerned about off-gassing of chemicals, though modern formulations are much safer. The main hurdle is that spray foam is a permanent alteration; inspecting structural elements behind it is impossible without destructive testing, raising red flags for home inspectors. To mitigate this, sellers should provide full documentation from a certified installer, including permits, product specifications, and any relevant warranties to prove the installation was performed to code.
It is generally not recommended to leave foam board insulation exposed in a finished basement. Building codes and fire safety standards typically require a thermal barrier, such as 1/2-inch drywall, over exposed foam insulation like EPS, XPS, or polyiso. This is because while foam boards themselves are treated to be fire-resistant, they can still emit toxic fumes when directly exposed to flame. An exposed installation also makes the insulation vulnerable to physical damage, reducing its effectiveness. For an unfinished basement where appearance is less critical, some local codes may allow it if the foam product has a specific fire-rated facing, but consulting a local building inspector is always the safest course of action to ensure compliance and safety.
Installing foam board insulation on exterior walls involves several key steps to ensure effectiveness and durability. First, prepare the wall surface by cleaning it thoroughly and repairing any damage. Measure and cut the foam boards to fit snugly between wall studs or over sheathing, using a utility knife. Apply a construction adhesive designed for foam insulation to the back of each panel, then press firmly against the wall. For added stability, use mechanical fasteners like plastic cap nails or screws with washers, especially in windy areas or for taller installations. Seal all seams and edges with foil tape or caulk to prevent air leaks. This method enhances thermal resistance, reduces energy costs, and helps control moisture when done correctly, aligning with industry standards for exterior insulation upgrades.
To install rigid foam insulation between rafters, first ensure the roof deck is clean, dry, and free of leaks. Measure the rafter bays precisely and cut the rigid foam boards to fit snugly, leaving no gaps. It is critical to maintain a minimum 1-inch air gap between the top of the insulation and the roof deck for proper ventilation to prevent moisture buildup. Secure the foam with adhesive or mechanical fasteners designed for foam insulation. Then, seal all seams and edges with manufacturer-recommended tape or spray foam to create a continuous air barrier. For optimal performance and to meet building codes, this approach is often combined with other insulation methods, as rigid foam alone may not fully fill the cavity. Always consult local building codes and consider a professional assessment for your specific attic structure.
To install foam board insulation on interior walls, start by measuring the wall area and cutting the foam boards to fit using a utility knife. Ensure the wall surface is clean, dry, and free of debris. Apply construction adhesive in a zigzag pattern on the back of each board and press firmly against the wall, using temporary supports if needed. Seal all seams and edges with foil tape or caulk to prevent air leaks. For added stability, you can secure the boards with plastic cap nails or screws with washers, especially in larger areas. Finally, cover the insulation with drywall or another fire-rated barrier as required by building codes, as foam board must be protected for safety. This method improves thermal performance and reduces energy costs effectively.
20 reviews